Getting started
Hello and welcome to EgoVenture.
EgoVenture is a framework for creating first person point and click games. It handles and streamlines the most basic stuff and makes it easy to develop games like this.
The EgoVenture project provides different packages:
The EgoVenture example game, which is made by MDNA games and showcases all features of EgoVenture. You can download the game and open it in Godot to check out how things are done.
The EgoVenture game template, which is used as a starting point for a new game, that is based on EgoVenture. This template includes all required plugins, a default game configuration, a basic game state and initialization code and the recommended folder structure to get you started right away.
The individual Godot addons, that form the EgoVenture features:
The EgoVenture core plugin which holds the basic features
Speedy Gonzales for easy custom mouse cursor handling
Parrot used for voice dialog handling
In the following sections we will guide you how to start creating your first game using the EgoVenture framework.
Downloading Godot
Go to https://godotengine.org/download and download the current stable version of the Godot engine for your operating system and install it.
Create a new Project
Start Godot, and search for the EgoVenture Game Template in the Templates tab:
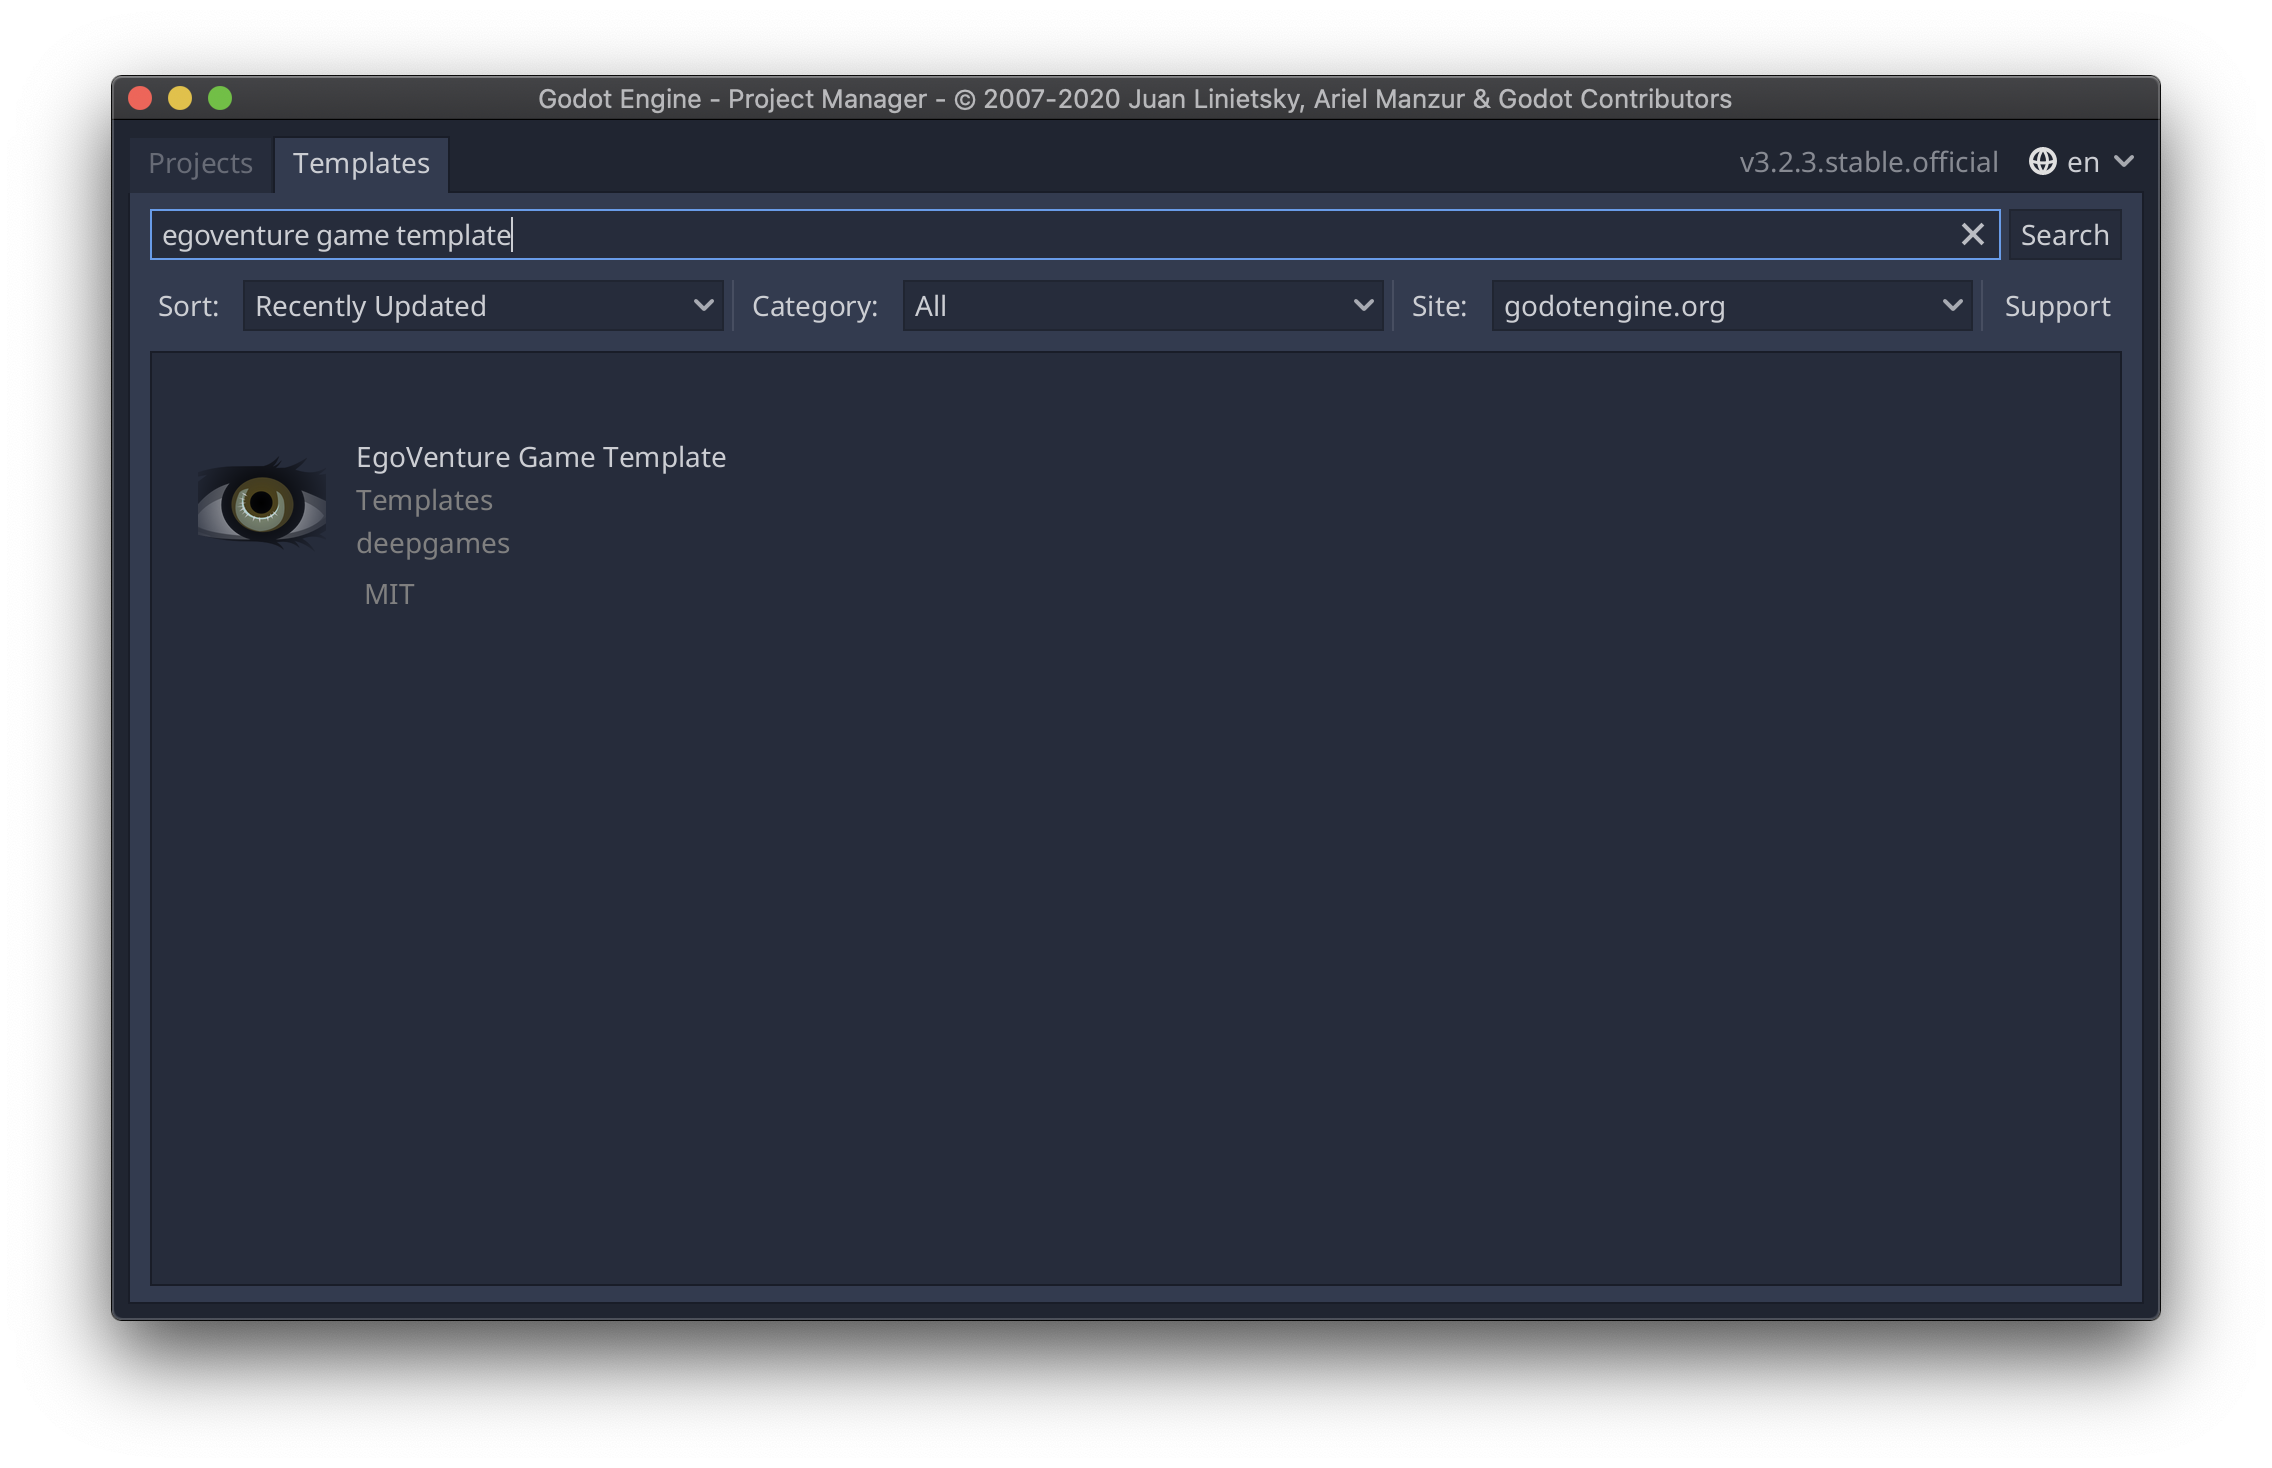
Click on “EgoVenture Game Template”.
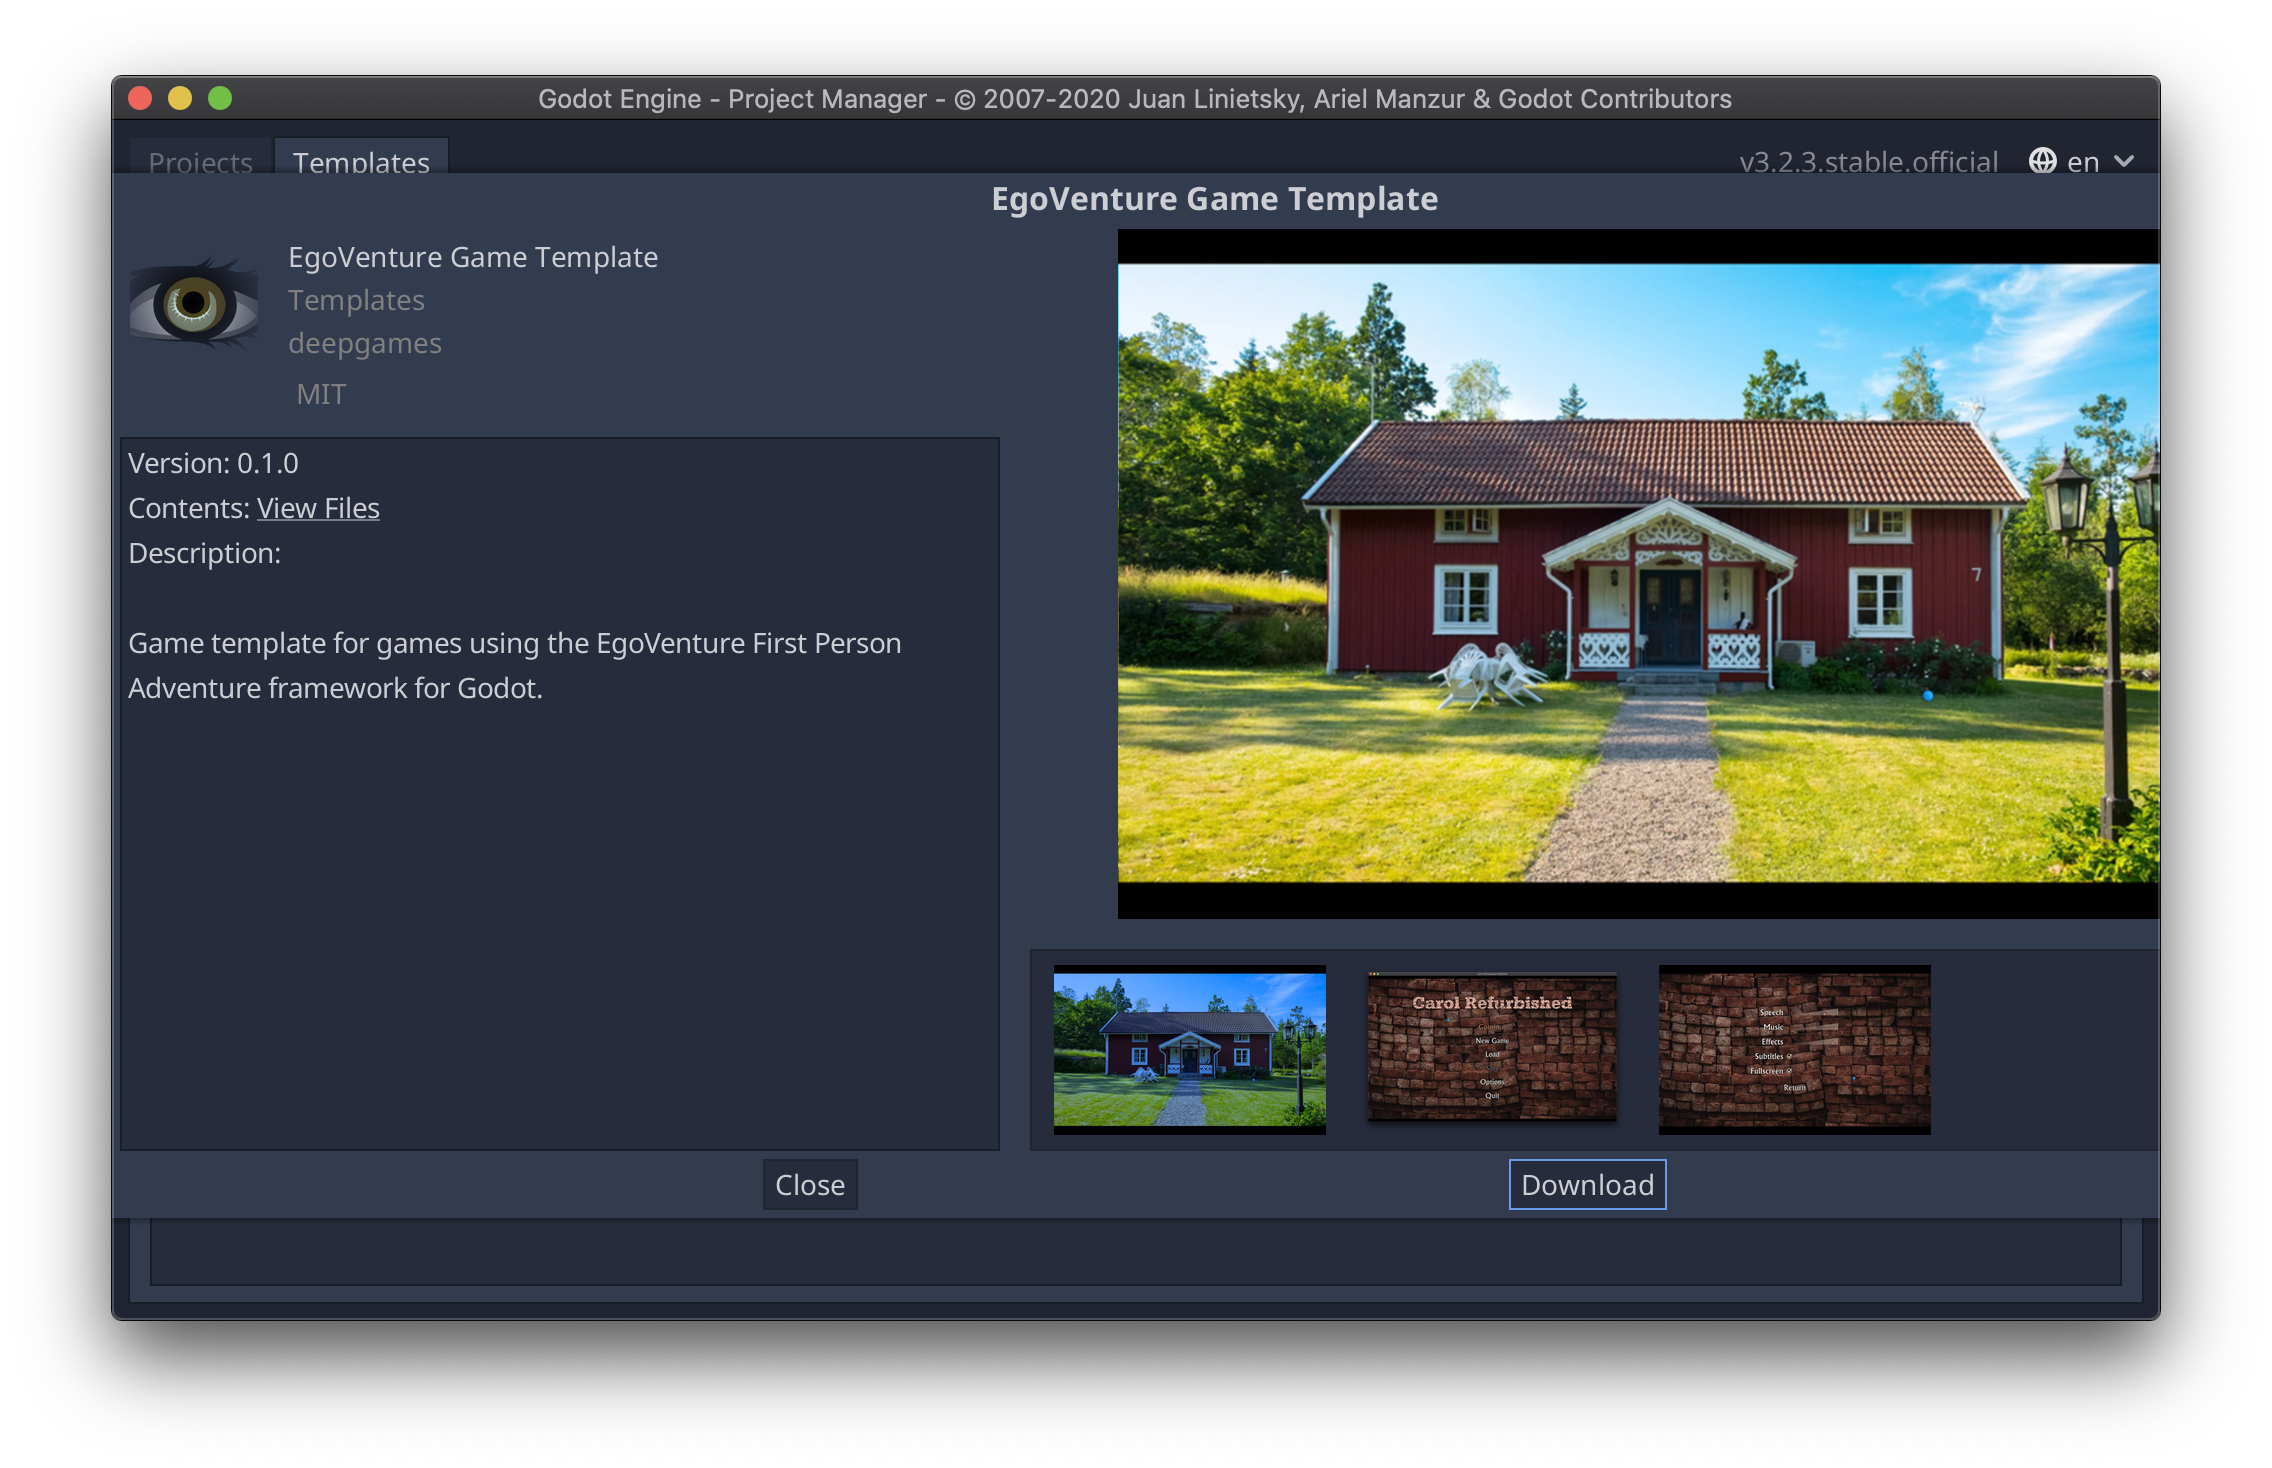
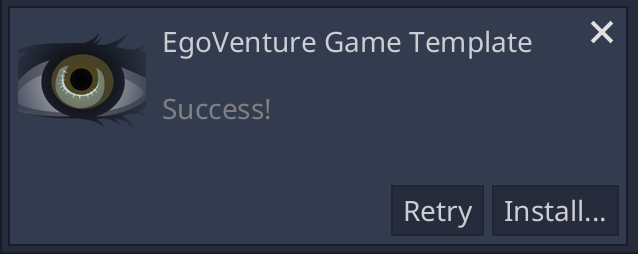
Click on “Download” to download the game template to your computer. After finishing, click install:
Enter the name of your new game and the folder where it should be created:
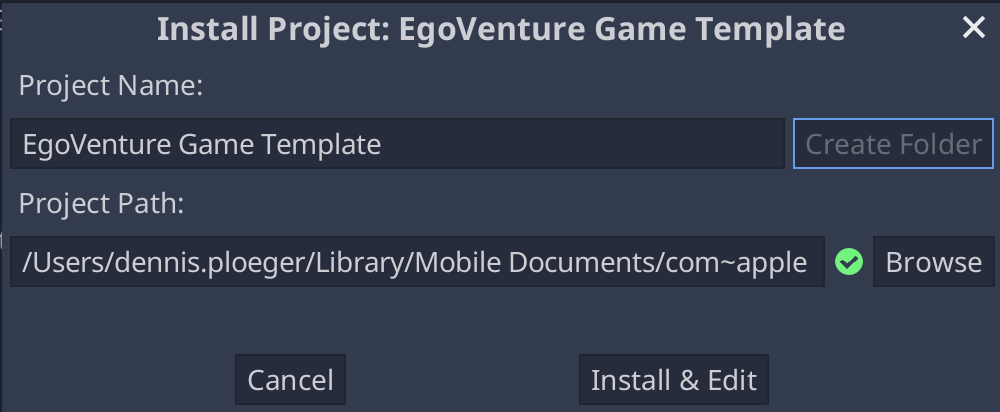
Click on “Install & Edit” to start the editor.
The EgoVenture game template includes a small set of assets (i.e. mouse cursor icons, a basic game configuration and theme) that helps you getting started. After you’ve clicked on “Install & Edit”, these assets are automatically processed by Godot.
After that process finished, close Godot and open it again. Godot seems to loose the links to the provided assets if you don’t.
Default folder structure
Afterwards check out the default folder structure of the game template:
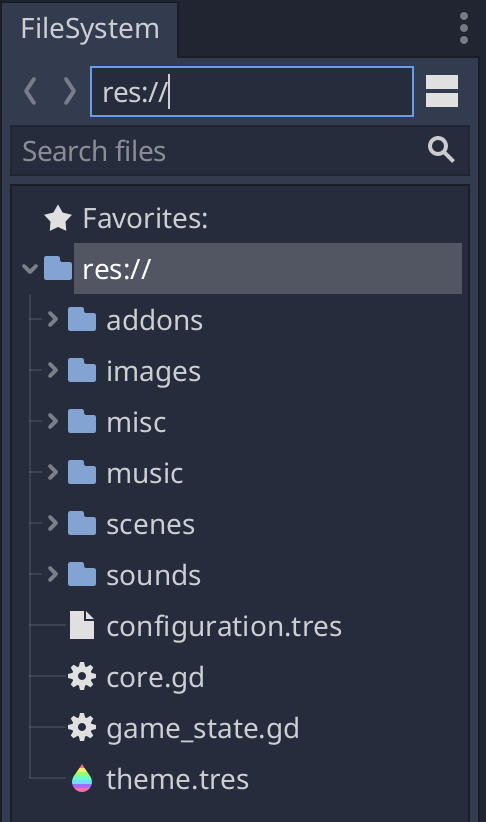
addons: Holds the compatible versions of the required addons EgoVenture, Parrot and Speedy Gonzalescharacters: Holds all dialog characters if you want to take advantage of Parrot’s multi-character featuredialogs: Your game’s Parrot dialogsinventory: The inventory items and their corresponding imagesimages: The root folder for all visual resources in this project. Currently, there are two subfolders there:misc: Holds various images like icons and button imagesmouse: Holds the default mouse cursor images
misc: Holds everything that doesn’t match the other folders. Currently, it holds one subfolder:fonts: The used fonts
music: Holds all music itemsscenes: Holds all locations and their corresponding scenes. Map scenes, for example, can directly reside in “scenes”, while other scenes should be in a location subfolder. For more information check out the scenes management documentation.sounds: Holds all background sounds and sound effectsvoices: The voice files of your Parrot dialogs
This folder structure is a recommendation for organizing the assets of the game, but you can obviously change it to your liking.
Additionally, these files reside in the root directory of the project:
configuration.tres: The default game configurationcore.gd: The core singleton for the game template, that controls the basic game logic. Check out the structure documentation for detailsgame_state.gd: An example game statetheme.tres: The default game themehints.txt(not visible in Godot): An example file for the internal hints system.project.godot(not visible in Godot): The project file of your new gameAdditional files like the
READMEand license file from the game template (not visible in Godot). Those can safely be removed.
Setting up
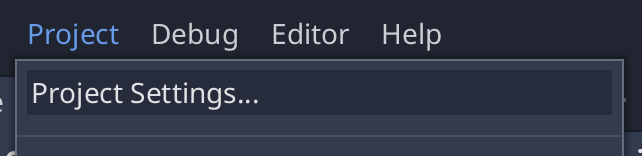
It’s recommended to first set the game name in the project settings. Click on the Project menu, then on Project Settings…. On the left side, select the section Config under Application and change the Name and Description fields so that they match your game. This way, you can easily identify your game in the project manager when you start Godot.

Additionally, you might want to check the game resolution in the Window section under Display. EgoVenture defaults to the QHD resolution of 2560 by 1440 pixels.

If you plan to use a smaller resolution, you need to change this setting.
Afterwards, find the game configuration file configuration.tres in the file explorer in the lower left corner, doubleclick it and configure everything you need using the “Inspector” on the right side of the screen. All available configuration options are documented in the game configuration page of this documentation.
Also, check out the default theme by double clicking on the file theme.tres and change it to your liking. Check out the theme documentation for details about configuring a theme and what things you can change in EgoVenture.
Importing assets
Open the game folder in your operating system’s file manager. There you will see the same folder structure as documented above, so you can directly copy game assets like images, music and sounds to their respective folders.
For scene images, it’s recommended to group connected images of a specific area into locations, add a new folder under imagesfor each location and put the images there.
When you get back to Godot, it will import those assets into a standard format, so they can be used in all supported platforms. Check out the Godot documentation about the import process for details.
Designing scenes
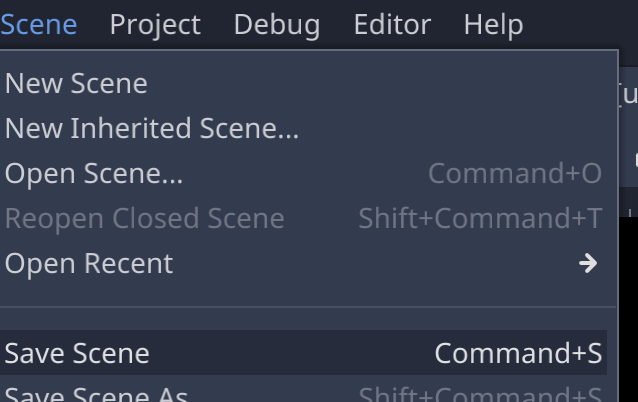
Select “New Scene” from the “Scene” menu to create a new scene. You can use all the provided Godot resource types to build up your specific scenes. EgoVenture has some special resources that aid you in creating the scenes for your game. For example, there is a special scene that supports four different images, each for one side and already includes features to switch around in this scenes.
Setting up the scene
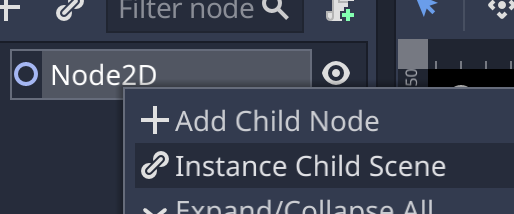
To use this, right-click the first node of the new scene, and select “Instance Child Scene”.
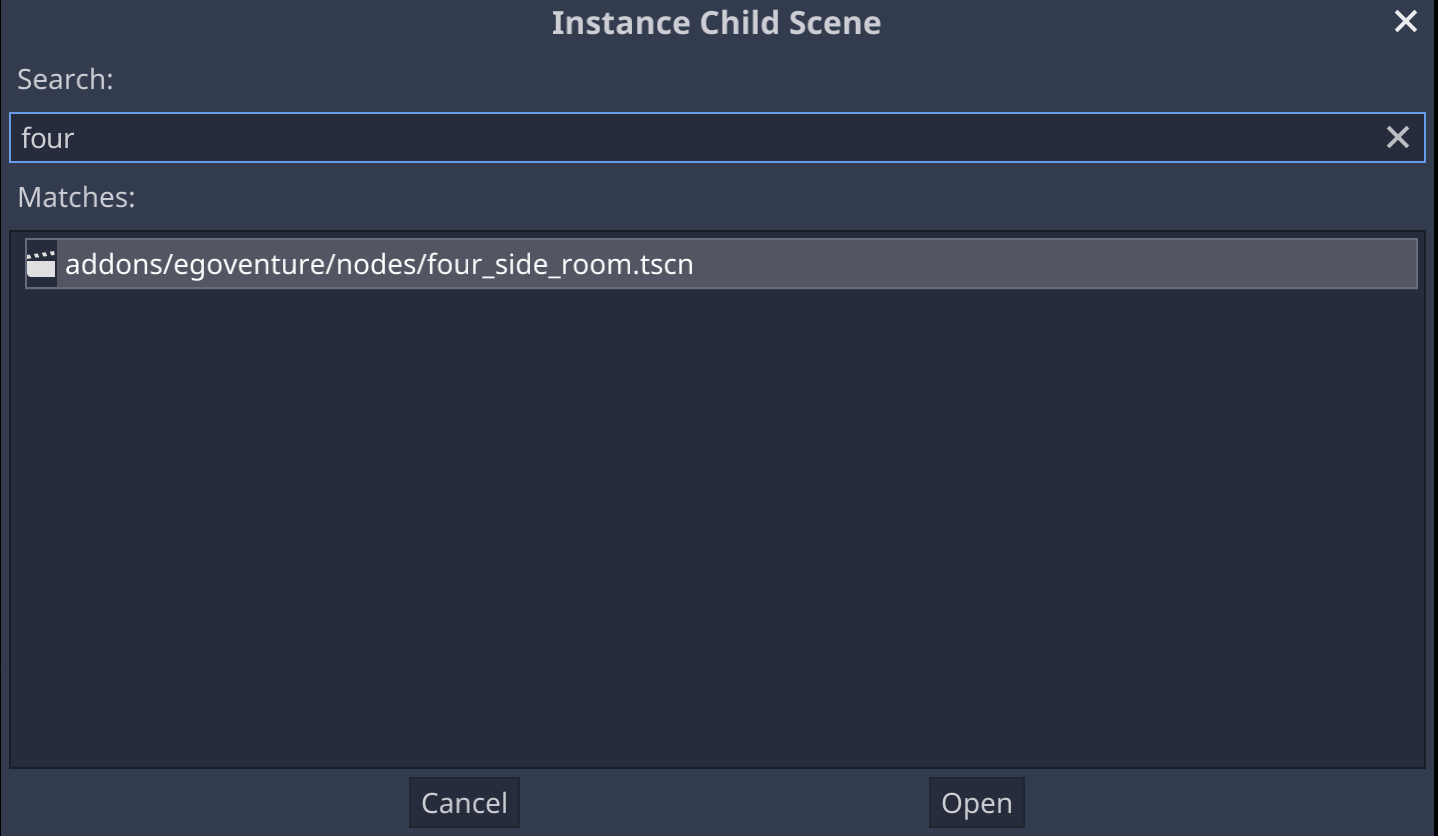
Search for “four” and select “Four Side Room”. Click on “Open”
This will add a new node to your scene, which is an instance (basically a copy) of the four side room scene.

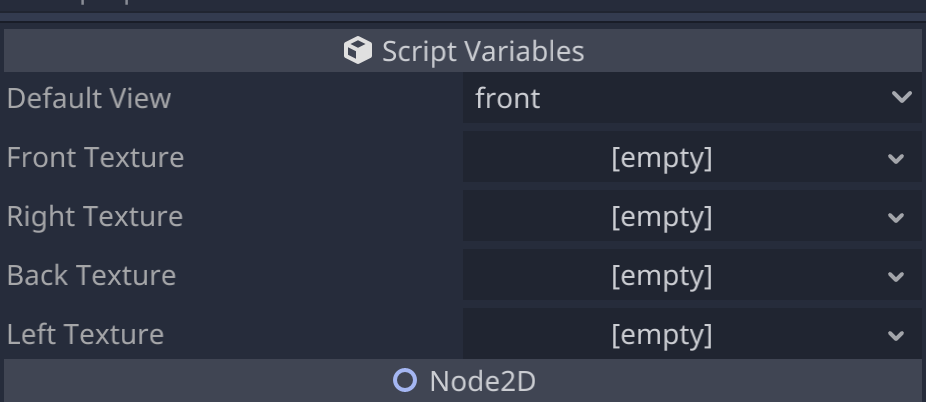
Look into the inspector on the right side. Here you can configure four images that each represent one side of this scene and select a default view that will be shown when the player enters the scene.
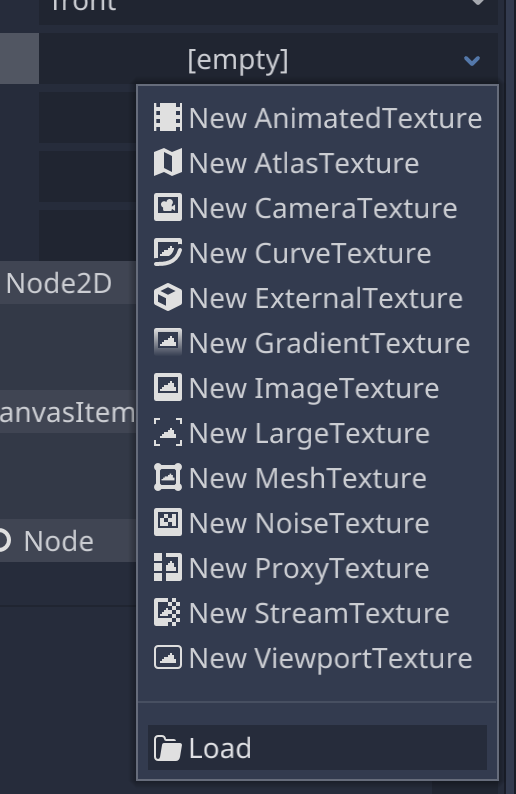
To select an image, click on the arrow of the respective view and select Load.
Select the image from the file browser and a small preview will be shown. Set an image for each side then save the scene using Save Scene from the Scene menu:
Use a meaningful name, so that you can reference it later when the player walks through the rooms.
Now it’s time to playtest this scene. Click on the Play Scene button on the upper right part of Godot:

If all went right, you should see the default view you configured earlier and can click on the left and right side of the screen to “turn around” in your scene.
So, turning around now works. Now we should allow the player to advance to the next scene.
Adding a hotspot
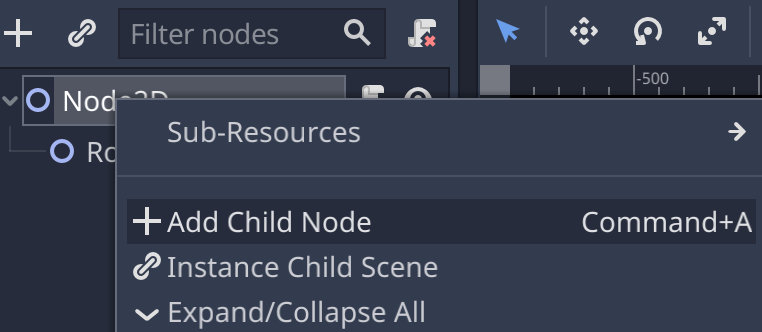
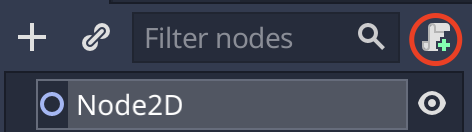
Right click on the top node of your scene again. This time, click on Add Child Node
Search for “WalkHotspot” and click on Create:
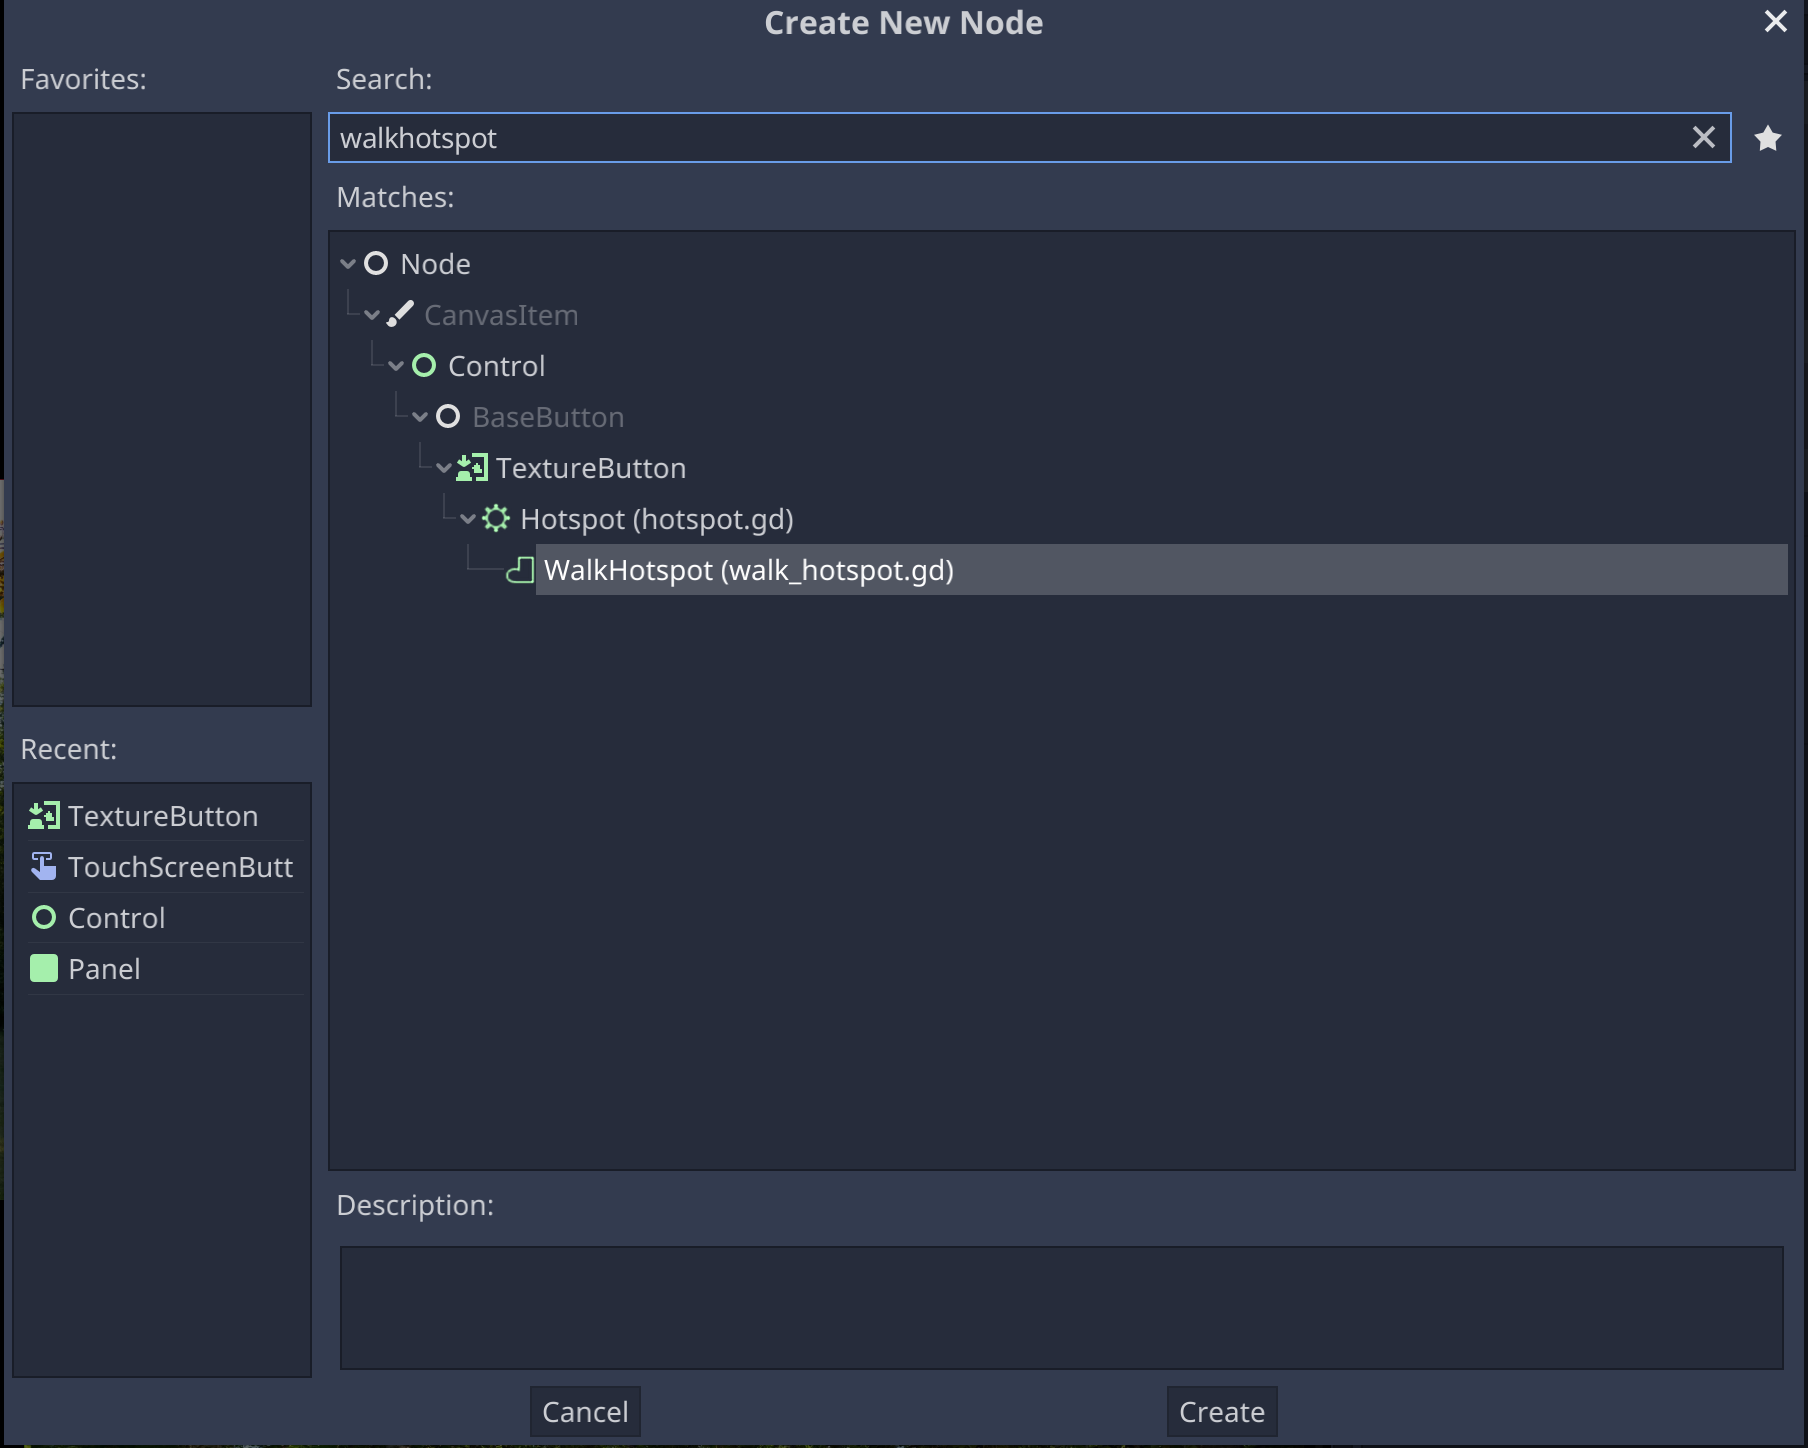
A WalkHotspot is a standardized way of creating clickable areas where the player can move to another scene. This will create a rectangle in the scene view, that you have to move and resize to match the area the player can click:

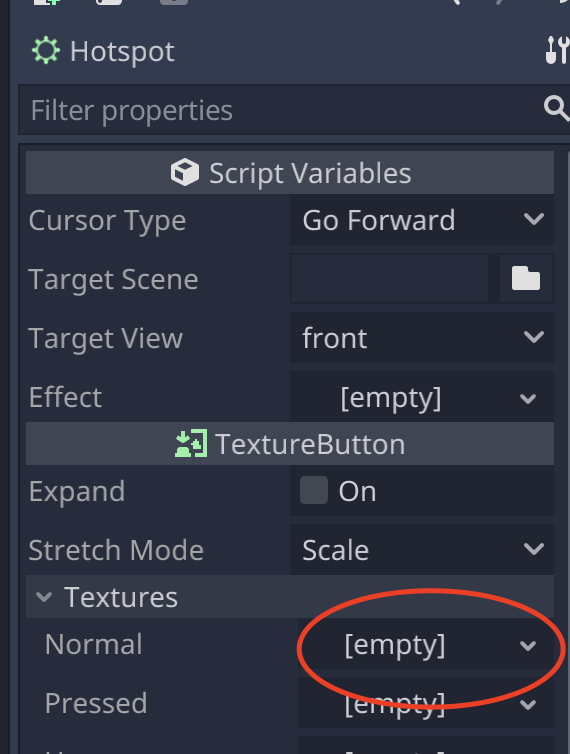
In the inspector you can configure the target scene by selecting it from the file browser. You can also select the view that should be shown when entering the new scene, another mouse cursor, if you don’t want to show the Go Forward cursor and select a sound effect that is played when the user clicks on the area and can be used when opening doors for example:

Use this methods to move around in your game.
Adding more interactivity
Now it get’s a bit more complicated, as we will need to use Godot’s scripting language GDScript for the more advanced things like handling inventory items or modifying your scenes.
In this example we will be adding a new inventory item to the inventory.
First, put three images for the new inventory item in the folder inventory:
A normal image, that is shown in the inventory
A highlighted image that is shown when the user selects the item and moves it over an area where it can be used
A big image, that will be shown when the user right-clicks the item in the inventory
After that create a new inventory item resource by right clicking the folder inventoryin the file browser. Select New Resource:

Search for Inventory and create a new InventoryItem resource:
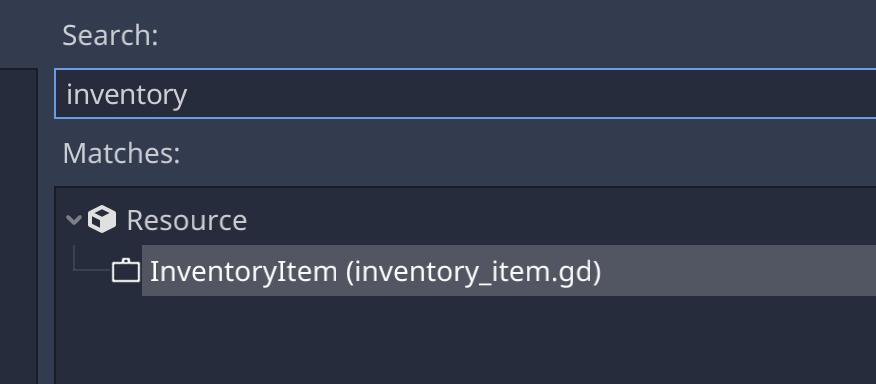
Give the new resource file a meaningful name (e.g. keys.tresor dog_whistle.tres). In the inspector, set a title for your inventory item, a description that will be shown in the detail view and select the three images for the respective properties:

There are some more options here, but let’s leave them for the moment.
Back to the scene. Right click the top node again and add a new child node. This time, select a Hotspot:
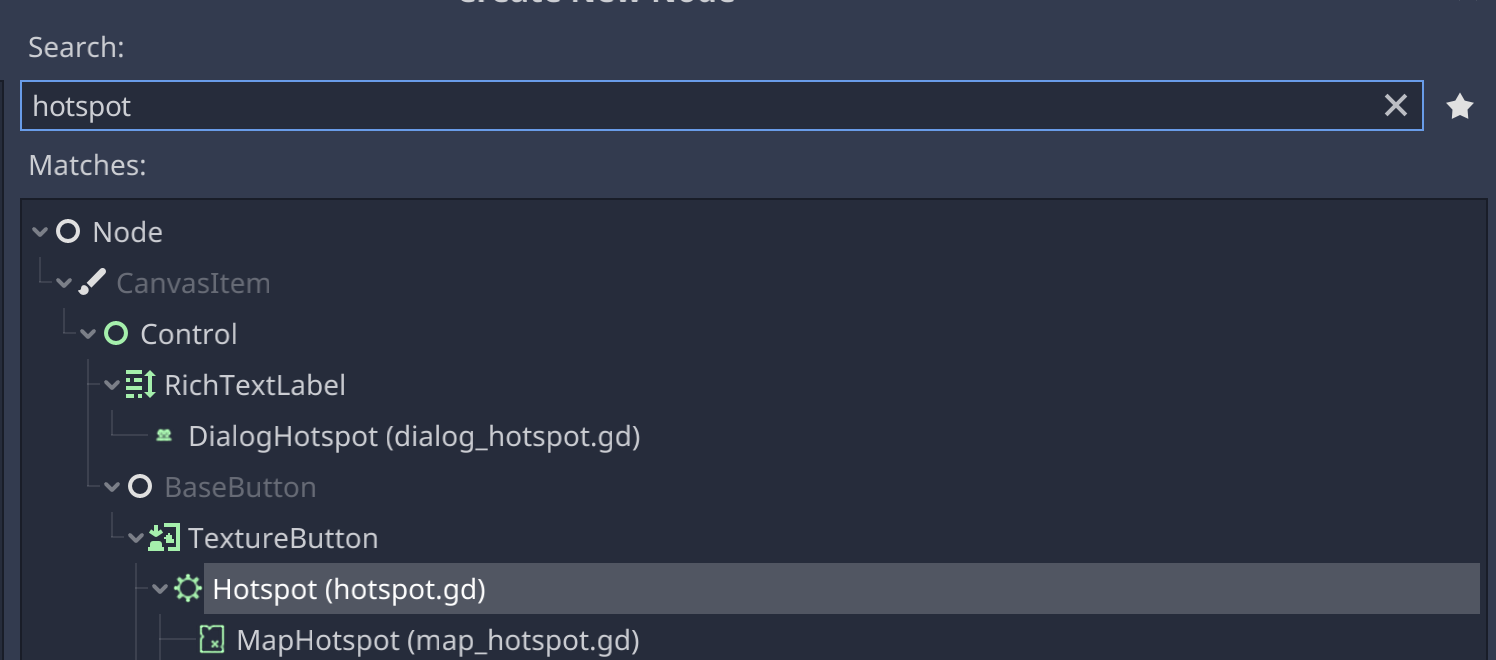
This time you only have to select a fitting mouse cursor for the hotspot (e.g. Hand) and move the rectangle somewhere in the scene where the player can “pick up” your inventory item by clicking on the area.
If the item is not part of your background image, you can use the “normal” texture property in the hotspot to add an image to the hotspot:
Now we need to add a new script for this scene. We will use Godot’s own scripting language GDScript in this example. Select your top node using the left mouse button and use the Attach Script button to add a new script to your scene:
Enter the name of your new script. It’s recommeded to give the script the same name as the scene (with the .gdextension)

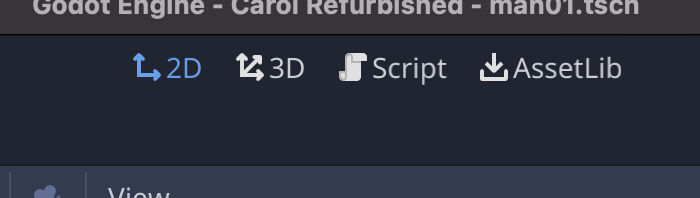
This will directly open the script in the built-in script editor. For now, just use the 2d button in the mode selection over the editor:
Godot scripting is done using a system of signals. Nodes can emit signals on various actions and scripts can “listen to” these signals, and react to them.
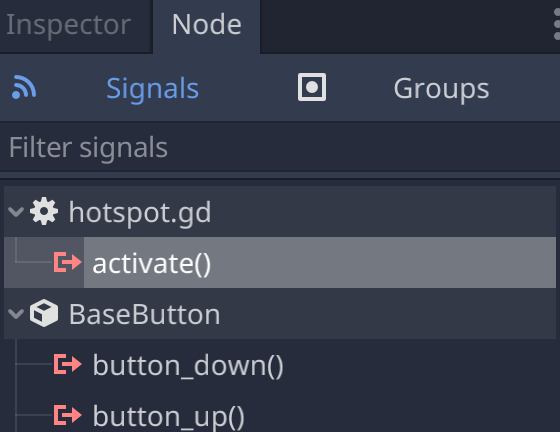
Select the new hotspot and on the right side, switch from Inspector to Node to see the available signals. Double click on activate.
Enter a meaningful name for a new function, that will be created in the script of the scene and that will listen to the activate signal.

Usually, you can just accept the default and click on Connect. The script editor will be shown again and you’re directly in the new function:
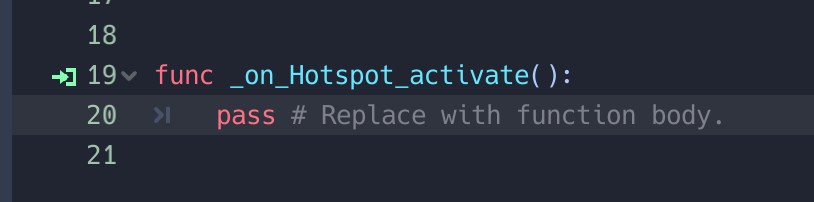
Now it comes to scripting, but don’t be afraid. GDScript is very easy to understand and all the available functions of EgoVenture are well documented in the API documentation.
To add a new item to the player’s inventory, you need the Inventory class and specifically the add_item function. Also, you need the path to your inventory item.
Godot uses a so-called virtual file system, because the file systems of each platform, that Godot supports, differ in certain aspects. Paths in Godot always start with res:// and the path to the specific resource after that. Each directory is separated using a forward slash /. So, for example, if you added the inventory item keys.tres in the inventory folder, the path would be:
res://inventory/keys.tres
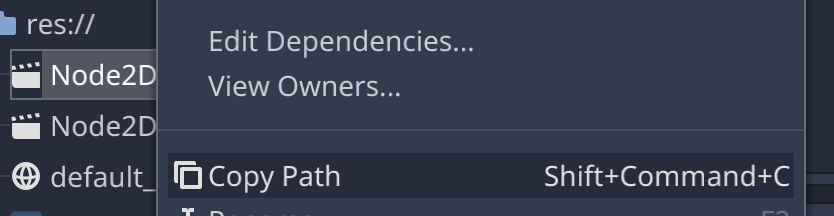
To make it easier to use paths, you can right-click a file in the file browser and then click on Copy Path.
To add this item to the player’s inventory, remove the line pass from the script and replace it with:
Inventory.add_item(preload("res://inventory/keys.tres"))
Don’t get confused by the preload function. That is used for loading the inventory item itself and giving it to the add_item function and is required in this case.
That’s it. Start the scene again and click on the area. The inventory bar should show your new item.
Where to go from here
Now that you know the basics, check out the rest of the documentation.
If anything goes wrong or you have questions, please join our Discord server for community support:
![]()